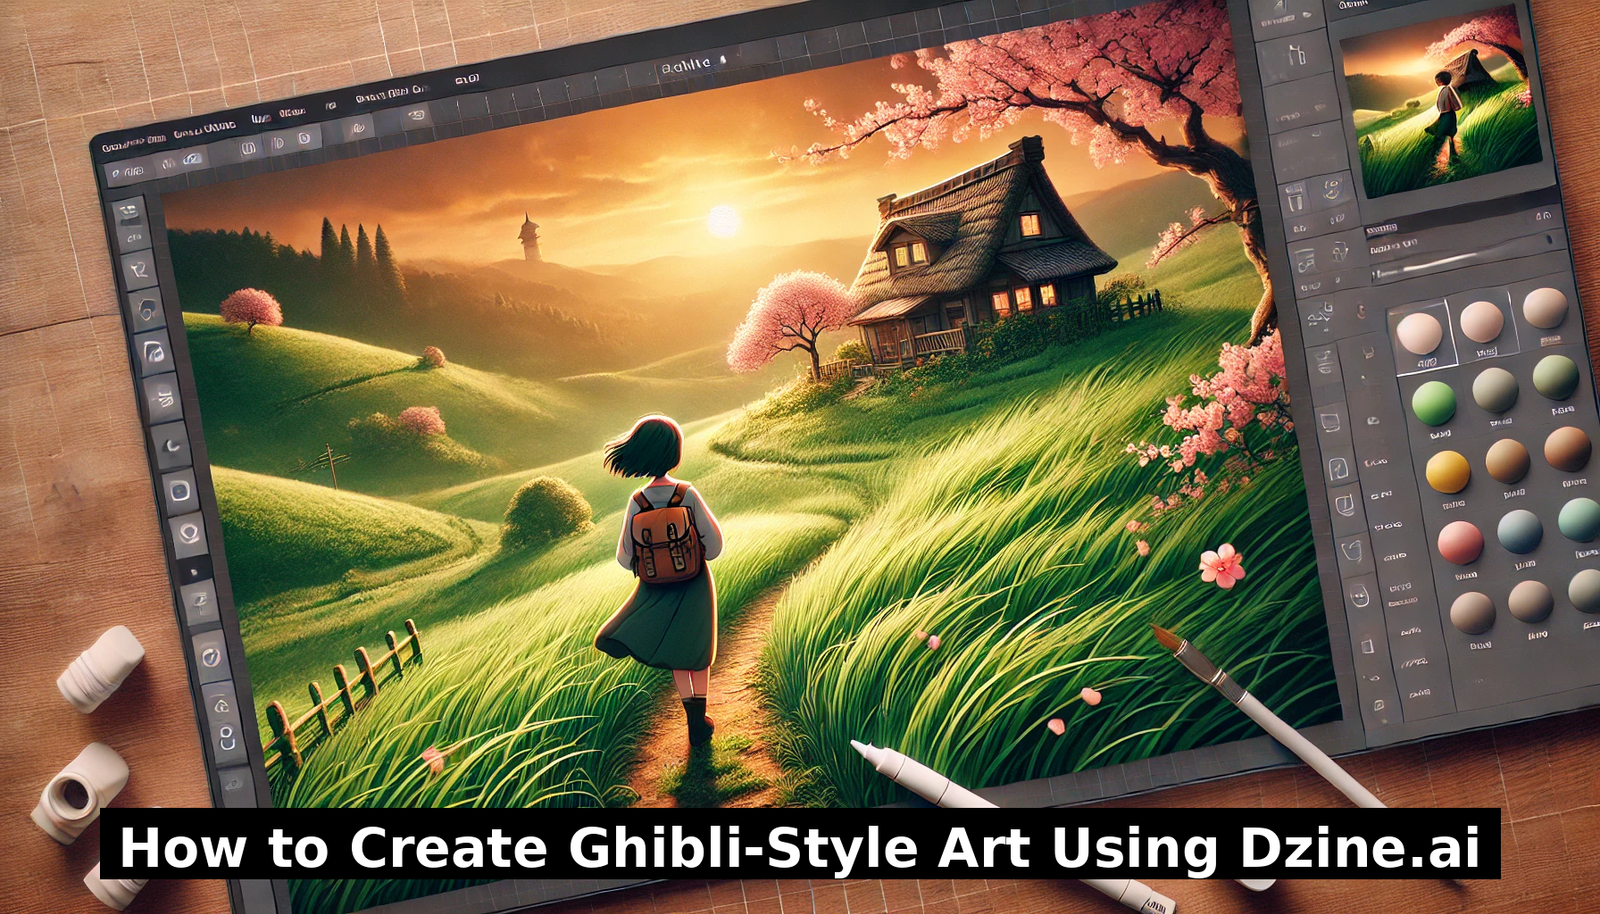
Studio Ghibli’s enchanting animation style has captured the hearts of millions worldwide. With the rise of AI-powered image generation, platforms like Dzine.ai now allow anyone to create Ghibli-inspired artwork with ease. As Ghibli-style images go viral across social media, it’s the perfect time to explore how you can create your own stunning visuals.
This guide will walk you through the process, offering insights, tips, and structured steps to achieve the best results.
Table of Contents
Why Ghibli-Style Images Are Trending?
- Social Media Boom – Platforms like Instagram, Twitter, and Pinterest are flooded with Ghibli-inspired AI-generated images.
- Nostalgic Appeal – Fans of classic Ghibli movies like Spirited Away and My Neighbor Totoro crave artwork that reminds them of these masterpieces.
- Easy Access to AI Tools – Dzine.ai and similar platforms have made it easier than ever to generate detailed Ghibli-style artwork.
- Storybook Aesthetic – The dreamy, hand-drawn feel of Ghibli art makes it perfect for personal and commercial projects.
Step-by-Step Guide to Creating Ghibli-Style Images Using Dzine.ai
1. Understand the Ghibli Art Style
Before generating Ghibli-style images, it’s crucial to recognize the elements that define this style.
| Key Feature | Description |
|---|---|
| Soft & Warm Colors | Pastel shades and warm lighting create a nostalgic feel. |
| Detailed Backgrounds | Lush forests, scenic landscapes, and cozy interiors are common. |
| Expressive Characters | Big eyes, soft facial expressions, and natural postures bring characters to life. |
| Hand-Painted Aesthetic | Soft brush strokes and watercolor-like textures give a hand-drawn effect. |
| Dreamy Atmosphere | A balance of reality and fantasy with a touch of whimsy. |
2. Set Up Your Dzine.ai Account
- Visit Dzine.ai and sign up for a free or premium account.
- Choose a workspace where you can manage and store your generated images.
- Explore the interface to familiarize yourself with the available tools.
3. Selecting the Right Prompts for Ghibli-Style Art
Generating the perfect Ghibli-style image requires precise and descriptive prompts. Here’s a breakdown of how to structure your input:
| Prompt Element | Example |
| Scene Description | “A peaceful countryside with rolling hills, cherry blossoms, and a small wooden house.” |
| Lighting & Mood | “Soft golden sunset with warm hues and a gentle glow on trees and water.” |
| Character Details | “A young girl with short brown hair, wearing a blue dress, standing in a field of wildflowers.” |
| Artistic Style | “Hand-drawn, watercolor textures, Studio Ghibli-inspired.” |
| Additional Details | “Floating petals, tiny fireflies, and a light breeze moving the grass.” |
- Always add emotional and atmospheric elements to make the images feel alive.
- Try using references to natural scenery to achieve a more authentic Ghibli effect.
grok ai ghibli art prompt and create images
4. Adjusting Settings for Best Results
Most AI platforms like Dzine.ai offer customization settings. Adjusting these ensures you get the most refined outcome.
| Setting | Recommended Adjustment |
| Image Resolution | High (1024px+ for clear details) |
| Art Style | “Hand-painted, watercolor, soft anime aesthetic” |
| Lighting Effects | Warm, natural, diffused lighting |
| Texture Detail | Medium to high for a more realistic hand-drawn look |
| Color Palette | Soft pastels, earthy tones, and muted gradients |
- Experiment with different levels of detail to fine-tune the output.
- Use the feedback and edit feature to refine and enhance generated images.
5. Editing and Enhancing Your AI-Generated Image
Once you generate an image, minor tweaks can make a huge difference. Here’s what you can do:
Use Editing Tools to Enhance Details
- Adjust brightness and contrast to enhance depth.
- Use a softening brush to refine edges for a more painted look.
- Add subtle grain or texture overlays to mimic traditional animation cels.
Improve Character Expressions
- Fine-tune facial expressions to make characters more dynamic.
- Modify eye shapes and positions slightly for a more natural look.
- Adjust character proportions if necessary to match Ghibli’s aesthetic.
Refine Background Elements
- Blur distant elements slightly to create depth.
- Add light effects like glowing lanterns or soft sunlight.
- Introduce small details like floating leaves, birds, or distant mountains.
6. Adding Motion Effects (Optional)
To make your images even more engaging, consider adding subtle motion effects:
- Use tools like Photoshop or After Effects to animate small elements like moving clouds or flowing water.
- Convert images into short GIFs or cinemagraphs for a more dynamic presentation.
- Overlay slight dust particles or light flickers for extra depth.

7. Publishing and Sharing Your Ghibli-Style Creations
Once your artwork is ready, share it online to gain visibility.
Best Platforms for Sharing
| Platform | Best Use Case |
| High engagement with art communities and reels. | |
| Perfect for aesthetic and mood-board content. | |
| Great for viral potential and tagging #GhibliAI. | |
| DeviantArt | Showcase your portfolio and get feedback. |
| Share on anime, AI-art, and Ghibli-themed subreddits. |
- Use trending hashtags like #GhibliAI, #AIArt, and #StudioGhibli.
- Engage with comments to build an audience and get suggestions.
- Post consistently to grow your reach and recognition.
Conclusion
Creating Ghibli-style images with Dzine.ai is an exciting and rewarding process. As these dreamy, nostalgic artworks continue to go viral, now is the perfect time to start making your own. By following these steps and refining your approach, you can craft truly magical visuals that capture the essence of Studio Ghibli.
Give it a try today and let your imagination run wild in the world of AI-generated Ghibli art!